MOISTURE in your walls? This homemade TRICK SHIELDS them FOREVER
Moisture in the walls is one of the most common and frustrating problems in the home. Not only does it make your home’s visual appearance ugly with stains, peeling paint, or mold, but it can also affect the respiratory health of those who live there. Why does this happen? The causes can vary: water leaks from the outside, poor ventilation, capillarity of the ground or even construction defects.
And if you’ve already tried special paints, magic putties and very expensive products without success, this homemade trick will surprise you. With just three simple ingredients, you’re going to create a waterproof barrier that seals, protects, and shields your wall forever.
How to Stop Moisture on Walls
What will you need?
To implement this inexpensive and powerful trick, you need the following:
- An empty container (preferably plastic or glass)
- Thinner (can be synthetic turpentine)
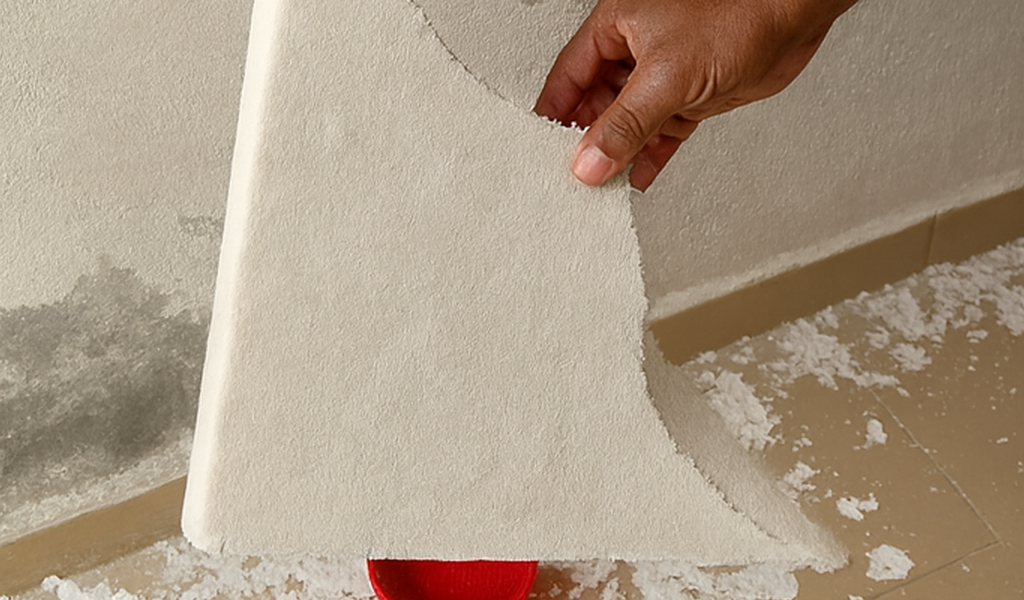
- Expanded polystyrene (telgopor or recycled packaging telgopor)
- Wide brush or brush
- Gloves and mask (as a precaution)
Why does this blend work?
Expanded polystyrene (telgopor) is a plastic material with waterproof properties. When combined with thinner, it melts and transforms into a dense, viscous paste that, when applied to the wall, adheres deeply to the pores of the plaster, forming a sealing layer.
This homemade sealer:
- Prevents moisture from penetrating from the outside
- Prevents mold from developing
- Creates a waterproof film that lasts for years
- It is much cheaper than industrial products
Step by step: how to shield your wall against moisture
1. Prepare the waterproof mixture
- Take the empty container and start placing small pieces of telgopor inside.
- Add thinner little by little.
- You will see how the telgopor begins to melt and transform into a thick and sticky substance.
- I continued mixing until I got an even paste.
- Tip: Don’t make too much at once, as it dries quickly. Do it in parts as you use.
2. Protect your hands and your environment
- Wear gloves and a mask to handle the mixture.
- Ventilate the environment well if you are working indoors.
- Place newspaper or plastic on the floor to avoid stains.
3. Apply the mixture to the wall
- Use a wide brush and start applying the paste directly to the areas affected by moisture.
- I covered all the nooks and crannies, cracks and stains well.
- If the wall is badly damaged, you can apply a second coat after 2 hours.
- Tip: You don’t need to scrape the paint if it’s already peeled. Apply directly to the area.
4. Let it dry completely
- Let the mixture dry for at least 24 hours.
- You will notice that the wall is left with a plastic and slightly shiny texture.
- Try pouring a little water: you will see how it simply slides.
And then what?
Once dry, this layer serves as a waterproofing base. You can paint on it if you wish, or leave it as it is if it is an area that is not visible such as a laundry room or a basement. In any case, you will notice how the humidity disappears… and he does not return.
Additional Tips to Avoid Moisture in the Home
- Ventilate the environments well every day, especially bathrooms and kitchens.
- Check gutters and pipes that may have water leaks.
- If you live on the ground floor, you can install waterproofing membrane on the outside.
- Consider using dehumidifiers if the climate in your area is very humid.
What do we learn from this trick?
You don’t need to spend fortunes on chemicals from well-known brands. Sometimes, the most powerful thing is in the simplest. This homemade method takes advantage of recyclable and accessible materials to give you a real and lasting solution. The key is to know the materials, know how they work and apply them intelligently.
👉 Follow our page, like 👍, and share this post. Every click can make a difference—perhaps saving your own life or that of a loved one.